How To Clean Textured Plastic Car Interior Surfaces (Safely)
Textured plastic collects dirt and grime in the crevices of the grain. Simply spraying the surface with an all-purpose cleaner won’t get the dirt out of the grain texture. You’ll need to get a little more aggressive to get textured plastic looking like new.
In this article, we’ll share with you what the best cleaners and tools are to get this job quickly so you can restore your interior trim and surfaces to showroom quality.
How To Clean Textured Plastic Car Interior Surfaces
- Wipe down all textured plastics with a damp cloth
- Spray a manageable area with an APC cleaning solution
- Scrub the textured grain with a detailing brush
- Dry the plastic or vinyl with a microfiber towel
- Repeat until all surfaces are clean
- Apply a quality UV plastic protectant
Best Way To Clean Car Interior Textured Plastic
Here are the steps to follow to properly and safely clean texture in your truck or car’s interior:
Step 1
Wipe down the surface with a damp cloth to remove all surface dirt and dust that hasn’t adhered to the plastic. Wiping down the surface will allow the cleaner to better access the more problematic dirt and grime down in the grain of the texture.
A damp cloth will help better remove surface oils and dirt and add a little moisture to the stuck-on grime to help it begin loosening.
Step 2
Spray a car detailing all-purpose cleaner on a textured plastic or vinyl surface. Don’t over-saturate the surface. A little APC will go a long way to clean plastic surfaces. You also don’t want to have to deal with cleaner running down into vents or electronics.
Alternatively, you can spray the cleaner onto a towel and wipe it onto the surface. Spraying onto a towel first will better control the application of the cleaner. This method prevents the overspray of the cleaner onto other surfaces.
Step 3
Use a brush to scrub the surface gently. While wiping with a microfiber towel usually won’t get the dirt out of plastic or vinyl grain, it doesn’t take a lot of force for a brush to do the job. The bristles can get down into the cracks and crevices, unlike a rag. Getting too aggressive is unnecessary and could potentially damage some more delicate plastics and other trim.
Step 4
When you’re done spraying and scrubbing, you’ll need to wipe away the remaining cleaner that has lifted the dirt out of the grain before it dries. Microfiber towels are the workhorse of choice for many detailing tasks because they absorb massive amounts and trap dirt within their knap.
I highly recommend using microfiber for this step if you haven’t been doing so up to this point. Microfiber will do the best job of absorbing the excess cleaner the oils, grease, dirt, etc. Using something less absorbent won’t do as good a job of trapping the oil, grease, dirt, etc., that the cleaner lifted from the surface of the interior plastic.
When rubbing plastics, you can generate static which will attract dust. Another benefit of microfiber is that it is lint-free. It will ensure that you’re not adding dust back onto the interior plastic surfaces.
Step 5
Repeat until you’ve finished cleaning all of the textured plastic or vinyl in your car’s interior. Once you’re done, the interior of your vehicle should be dirt and oil-free down into the grain of any vinyl or plastic surfaces.
Give one last glance at all surfaces to make sure everything is cleaned well, and all surfaces are dry.
We’re not done yet, though…
Step 6
The final step is to protect your hard work and your plastic from UV damage. The only protectant we recommend for this is Aerospace 303 Protectant. It has a very nice low-gloss matte finish, unlike much of the other competitive products on the market.
Aerospace 303 protectant will not only protect your plastic trim, dashboard, door panels, and other plastic and vinyl surfaces from harmful UV rays, but it will also keep oils and dirt from adhering to their surface.
Best Cleaner For Car Interior Plastic
Car detailing all-purpose cleaners are best for cleaning interior plastics. They’re very effective at breaking down the bonds that dirt and grime have with all types of car and truck interior surfaces, including textured plastics. Also, they are safe for almost any surface, so you won’t have to worry about them being too aggressive and potentially damage some surfaces.
There are many great all-purpose cleaners on the market for car detailing use, but we recommend Meguiar’s All-Purpose Cleaner. It’s tried and true. But in all honesty, most car detailing all-purpose cleaners will be adequate.
Car Interior Plastic Stain Remover
Not only can textured plastic get dirty, but it can get stained and make an ordinarily difficult-to-clean surface even more complex to clean. Stains are challenging because they aren’t simply sitting on the surface of the plastic. They are embedded into the pores of the plastic.
Let’s go over some of the more difficult stains and discuss the tools, products, and techniques to restore them to their original condition.
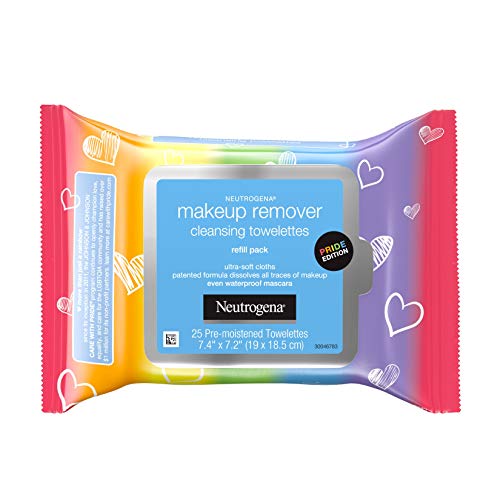
How To Remove Makeup From Car Plastic
Makeup on interior plastic can be challenging, whether it’s textured plastic or smooth. Makeup is designed to stick tenaciously to the skin and withstand body oils and moisture. This makes it challenging to remove when it gets on something you don’t want it on.
Makeup remover wipes are my first and best suggestion for removing makeup. It makes sense that a product design to remove makeup should work the best. You will want to test the wipes in an inconspicuous location first to ensure there isn’t some chemical reaction that could harm the plastic. Makeup remover is meant for use on skin and not your car’s interior, after all.
Textured plastic is usually more complex, but a little scrubbing with a brush after a thorough wiping should help loosen any residual makeup. You may need to wipe the surface and scrub a few times before you get the desired results.
How To Clean Mud Off Car Interior Plastic
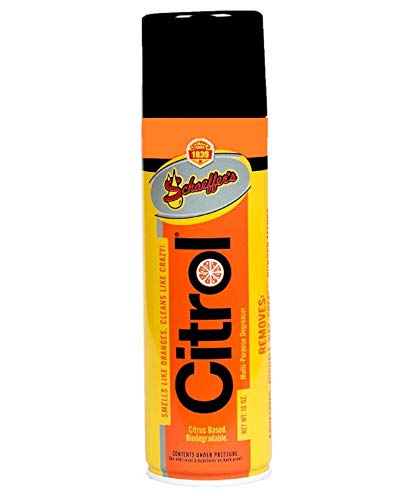
If you end up with mud on plastics inside your car or truck, you’ll often find that after vacuuming up the bulk of the mud doing your best to wash it away, there are mud stains left behind. This will be more of an issue with textured plastic. Especially plastics around the footwell that tend to get scratched and scuffed for shoes and boots. As dirt and grime, a good quality all-purpose cleaner and a brush should work well for most scenarios. Mud can sometimes be a little more difficult, though, so you may need to step up to something a little more aggressive than an all-purpose cleaner. Test any cleaners you use on a spot that won’t be an eyesore first, of course. Rubbing alcohol or a degreaser like Citrol 26 combined with some vigorous brushing may be required to get into the grain of textured plastic or scuffs and scratches. If it doesn’t react poorly, give it a go and brush to get at those deeper scuffs and scratches.
How To Remove Paint From Car Interior Plastic
There are different types of paint; therefore, there are various methods for removing paint from plastic parts inside your car or truck.
Wash Paint Off
Some paints may be easily soluble in water and may wash away. If you catch a paint spill early, you also may be able to wash it away. Be sure to have several disposable rags handy to use to keep any paint from getting on other parts of your car or truck interior.
Peel Or Scrape Paint Off
Some paints may not be very strongly adhered to the plastic and may be easily removed by peeling it off or gently scraping it away. Be very careful not to scratch or scuff the plastic. Scuffs and scratches are more difficult to remove than paint.
Use Rubbing Alcohol or Solvent To Remove The Paint
The safest solvent to try when removing paint from interior plastic trim is rubbing alcohol. Be sure to test how the alcohol reacts to the plastic in an inconspicuous location first. Most plastic trim should hold up very well to rubbing alcohol, so this probably won’t be a problem, but it’s better to be safe.
Apply a little alcohol and wipe the surface where the paint is on the trim using a rag. Start at the edges, so the alcohol has a better chance of penetrating underneath the paint. Paint usually doesn’t stain and sits on top of the surface of whatever it’s applied. The paint will also likely be thinner at the edges and can more easily begin to break the paint down. You may need to use a little elbow grease to get the paint to start breaking down and coming off.
If rubbing alcohol doesn’t work, you may need to step up to something more powerful. Goo Gone Automotive is a unique Goo Gone formulation designed to break down many things other than adhesive that a detailer may come across. Paint is one of the things that Goo Gone Automotive is designed to remove.
Again, be sure to test it in an inconspicuous location first. Even though it’s specifically formulated to be used in automotive applications, you never know how it will react with specific vinyl or plastics.

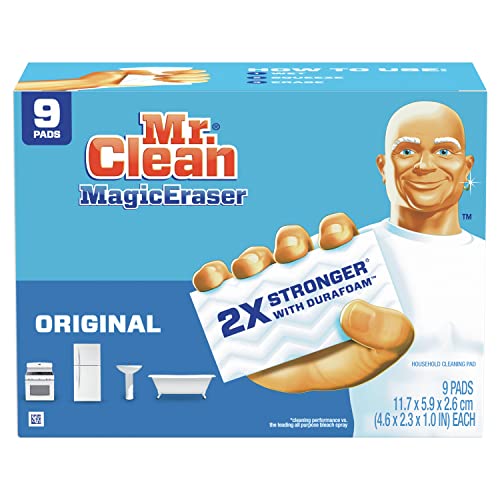
Magic Eraser On Car Interior Plastic
A magic eraser is a tool that I love as a detailer. It can do wonders when used correctly. But I have to caution you that it can do damage if not used with respect. Think of a magic eraser as very fine sandpaper, and I think you’ll begin to understand the respect you need to give it.
A magic eraser has a knack for grabbing and removing extremely stubborn dirt and surface stains on many types of surfaces. I love it for its ability to remove dried wax from plastic parts on the exterior of your car. It’s also great for cleaning leather seats when used gently.
To clean your car interior plastic with a magic eraser, spray the surface with a bit of all-purpose cleaner and gently scrub with your magic eraser. The all-purpose cleaner will not only help loosen dirt and grime on the surface but will act as a lubricant between the magic eraser and your car’s plastic.
Without the cleaner as a lubricant, you can essentially begin to sand away at the plastic and cause discoloration or remove texture from a spot of your textured trim piece.
Treat the magic eraser with respect, but know that when other solutions fail, it can often get the job done.
How To Protect Textured Car Interior Plastic
I’ve already given away the secret here. Still, it’s important to use a quality plastic UV protectant on your textured plastics to protect from harmful UV rays from the sun and create a protective coating that will prevent dirt and grime from easily getting down into the grain of the texture pattern. This coating will make it easier to clean the interior of your car. Spray with an APC and wipe with a microfiber towel. Reapply your UV protectant of choice (mine is Aerospace 303 Protectant, as mentioned earlier), and you’re all done. Your interior surfaces will remain cleaner longer, and your plastics will discolor and fade much more slowly with the UV rejecting coating.
How to Clean Car Plastic
This article was co-authored by Chad Zani. Chad Zani is an Auto Detailing Expert based in Los Angeles, California. He is the Director of Franchising at Detail Garage, an automotive detailing company with locations around the U.S. and Sweden. He and his team are auto detailing experts that offer detailing and car care services.
There are 8 references cited in this article, which can be found at the bottom of the page.
This article has been viewed 339,698 times.
Practicing good car maintenance both inside and out will help your vehicle both hold resale value and be a source of pride for you. Your car has both interior and exterior plastic. To clean the interior plastic, start by vacuuming and then using a soft cloth and a plastic safe cleaner. When cleaning your exterior plastic, wash your car first and then apply a degreaser. Always finish your cleaning sessions with some sort of protectant.
Method 1 of 3:
Cleaning Interior Plastic

- Remove the floor mats and shake them before you start vacuuming.
- Be extra careful around any knobs or vents. These areas can be easily damaged.

- You can also use a soft-bristled toothbrush and cotton swabs to clean crevices and hard to reach areas.
- If you used a damp cloth, go back with a dry soft cloth to dry the plastic.
Advertisement

- Always test an inconspicuous piece of plastic before you apply it to all of the plastic in your car.
- If you are using a commercial plastic cleaner, follow the instructions on the packaging.
- Turn the cloth to a clean spot when it begins to show dirt. You do not want to redistribute dirt throughout your car.

- Again never spray products directly on the plastic. Always use a clean, soft cloth or a foam applicator pad.

- You can purchase boiled linseed oil from a hardware or paint store.
- There are also all-in-one products that act as both a polish and a protectant. This is convenient and cuts down on the amount of products you have to buy. [2] X Research source
Advertisement
Method 2 of 3:
Taking Care of Exterior Plastic

- Clean your car in a shaded area to prevent your car from getting too hot. If the surface of the car is too warm, the soap may dry and you will have to wash your car multiple times.
- Dry your car with a clean, soft, dry towel or drive your car around the block.

- Purchase a light degreaser that is safe for cars. Visit your local automotive store or the automotive section of a large retailer like Walmart or Target.
- The degreaser will also remove any buildup from other products that you applied.

- These products will remove stains and improve the color.
- Some good products you can try include Poorboy’s Trim Restorer, TUF SHINE Black Restore Kit, or Black WOW, or Mother’s Back-to-Black cream. [5] X Research source
- Always read the instructions before using the product on your car.

- These protectants can often be used on multiple surfaces such as plastic, vinyl, and rubber.
- Always degrease the surface before applying the protectant.
Advertisement
Method 3 of 3:
Maintaining a Clean Car

Clean your car regularly. Clean the interior of your car once a month, and the exterior of your car twice a month. If you have a regular cleaning schedule, your cleaning sessions will not take as long. If you cannot clean your car this often. At least try to clean your car at regular intervals. [7] X Research source
- You may need to clean your car more often if you live near the coast, have salted roads in the winter, or live in a wooded area with tree sap.
- Remove and shake out your car mats once a week as well.
- To clean car carpet, attach a carpet brush to the end of a cordless drill. Clean the surface with a special stain remover or foaming wash—the drill does most of the work for you. You can also use specialized brushes for upholstery and rubber, if needed. [8] X Expert Source

Remove trash daily. Your car is not a trash bag. Remove empty cups, plastic wrappers, or any other trash every day. It may help to keep plastic bags in your car for trash collection. You can then throw the bag away at the end of the day. [9] X Research source

- The owner’s manual may also have cleaning tips for your car. If you do not have a hard copy of the manual, you can often find the manual on the manufacturer’s website.
How To Clean Textured Plastic Car Interior Surfaces (Safely)
https://www.wikihow.com/Clean-Car-Plastic
