How to Install Cement Tiles
Whether you are a DIYer or a professional installer, here’s our guidance on how to install cement tile.

Installing cement tiles is a simple process, but it must be done with care, thought, and above all some planning. Because each cement tile is individually handmade you will find slight variations in the thickness, shape, and color. Slight imperfections, irregular edges and crazing are inherent to cement tile and add to the product’s natural appeal.
In order to achieve the best results, I recommend using a professional tile installer because cement tile is slightly less forgiving when installing than porcelain tile or glazed ceramic tile. Nonetheless, we have had many DIYers install cement tile with success by following these guidelines. Patience and planning are the keys to any successful tile install. These cement tile installation guidelines apply, regardless of the pattern, color, location or application. Follow these installation guidelines for floor installations, tiled stairs, or for a kitchen backsplash. Bear in mind, wall and ceiling applications are the most difficult.
Pre-Installation Tips for Installing Cement Tile
- Because concrete and cement tile is porous care must be given to avoid staining from oil, grease, markers, and dirty hands. Consider pre-sealing, pre-sealed or polished tiles, if available. This is especially for wall applications or if you are DIYer.
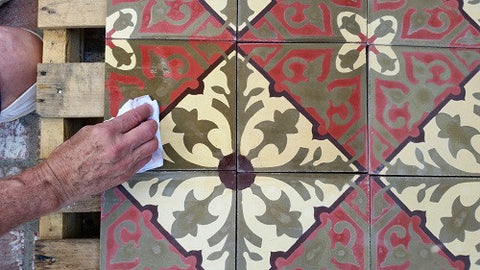
Pre-sealing cement tile prevents staining during installing, if pre-sealed or polished tiles are not available
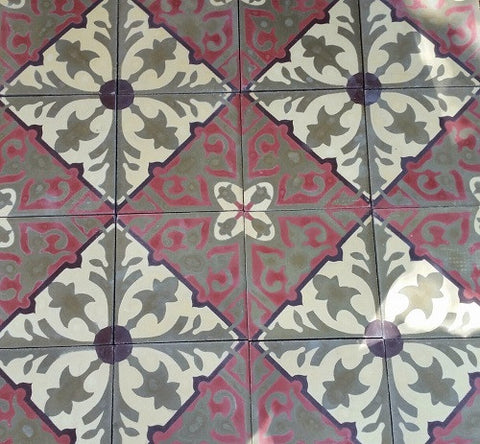
Cement tiles come with slight imperfections because they are handmade

Expect variation in color and shade of cement tile
For patterned tile installations, a dry layout ensures problems are spotted before installation begins
9 Steps for a Successful Cement Tile Installation
- The tiles should be installed with a narrow (1/16″) grout joint using tile spacers.
-

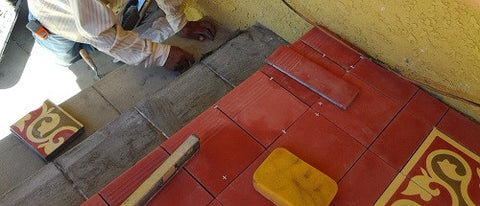
Install cement tiles with a narrow grout joint on a clean, level surface

Cement tiles must be laid on a perfectly level and clean surface

Cement tiles tiles can be cut using a wet saw with a diamond blade
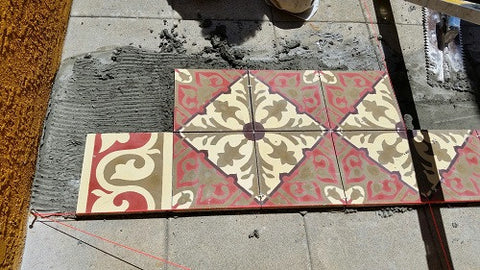
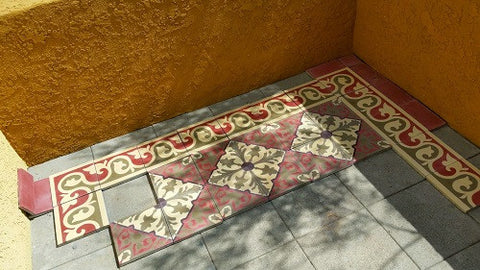
When installing a cement tile pattern or rug, start with the main field pattern in the center, then the border
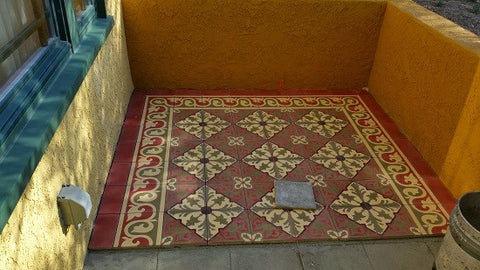
Then add plain, solid color tile surrounding the border last
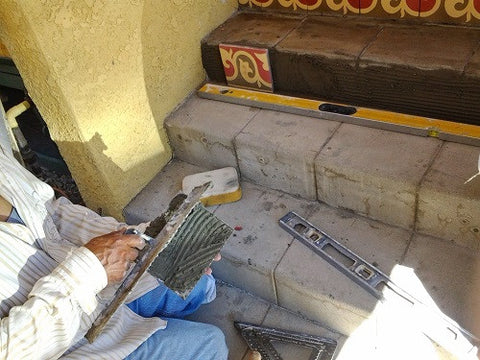
For proper adhesion, apply thinset with a notched trowel to the surface and back of the tile
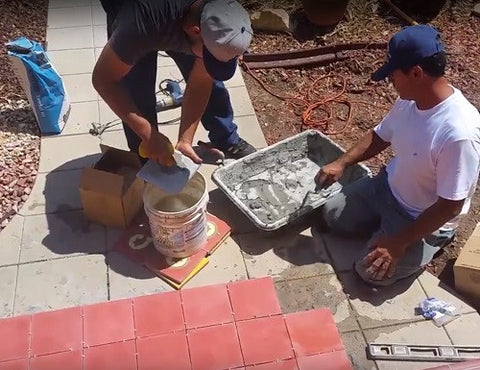
When using thinset mortar the back of the tile must be dampened

Level cement tile using your hand
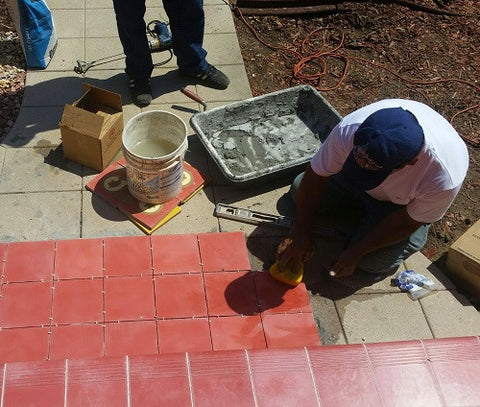
Any mortar left on the surface of the tile must be cleaned immediately to avoid staining
There is nothing like experience when it comes to laying cement tile. However, if you follow and understand these guidelines you are sure to avoid any problems and make your project a success! Whether a weekend DIYer or someone that wants to make sure they avoid problems with their install, our illustrated guide to installing cement tile provides the information you need to ensure a problem-free installation. Don’t miss next week’s blog post where I show how to grout cement tiles.
Want to know more about cement tile? Our Cement Tile Information Center is just the place to start! Our passion for cement tile has led us to offer one of the broadest collections of cement tile patterns anywhere on the Internet. If you are looking for customization, floor layouts, or installation experience – look no further. With our extensive experience in selling cement tile, we care immensely about finding cement tile solutions for any budget. At our Handmade Cement Tile Information Center, you’ll find links to resources designed to answer all your questions.
https://www.aventetile.com/pages/how-to-install-cement-tiles